How it's done

The first step in creating a stained glass panel is to make a design. The design is a drawing of what the stained glass piece will look like.
Once you have the design you make a pattern. It looks like a puzzle - each little glass piece in the panel is first cut out of card board, which is used to transfer the shape onto glass panes.
Then each glass piece gets cut out with a glass cutter, then ground to smooth the edges, then wrapped in copper foil and then, finally soldered to assemble the final piece.
first step - the design
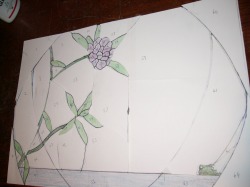
Once you have the drawing of the stained glass panel you want to design, you have to create the pattern - each piece of the panel needs to be cut out individually.
second step - tracing
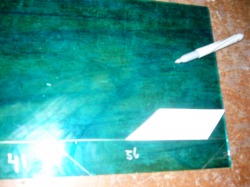
Each individual glass piece must be traced onto the glass.
third step - cutting the glass
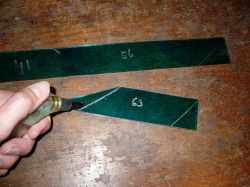
Once the glass pattern piece is traced onto the glass, the glass is scored with a glass cutter.
cutting the glass
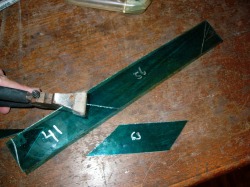
Once the glass has been scored, the glass can be broken with breaker pliers.
fourth step - grinding the glass
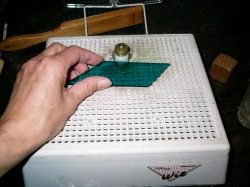
Once the glass piece has been cut, the piece needs to be ground to remove uneven places and to make the edges smooth and ready for foiling.
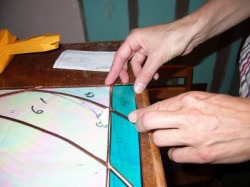
fifth step - foiling the glass

Each piece of glass gets wrapped in thin copper foil.
... and foiling and foiling
The copper foil is gummed, which helps it stick to the edges of the glass piece.
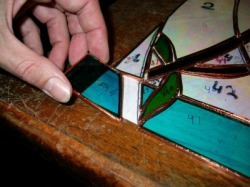
finished with foiling...
Once all the pieces are foiled they get assembled together like a puzzle. All the pieces need to fit neatly and fit the exact dimensions of the original design.
sixth step - fluxing
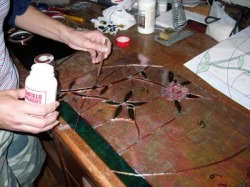
Now the whole piece is assembled and flux is brushed on the copper seams. The flux is an important chemical catalyst to help bring the required temperature of the metals - copper and solder - down to a lower temperature.
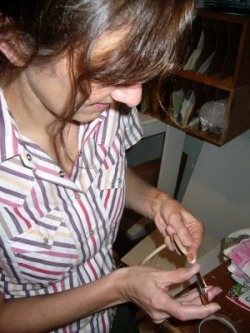
seventh step - soldering
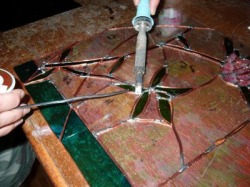
First the connecting points of the glass pieces are soldered to make sure that the glass panel does not get distorted by accidentally shifting a piece out of place.
soldering
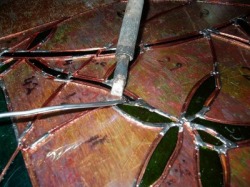
The solder only sticks to the copper foil, not the glass. The solder needs to be carefully melted along the seams of the glass pieces.
... and soldering ... the front and the back
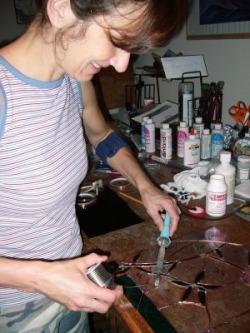
Both the front and the back of the stained glass piece get soldered.
First of all having the seams soldered on both sides makes the whole piece more stable, and secondly, when the stained glass panel hangs in the window, it can be seen from both the inside and the outside!
So both sides need to look neatly soldered and finished!
eighth step - cleaning and polishing
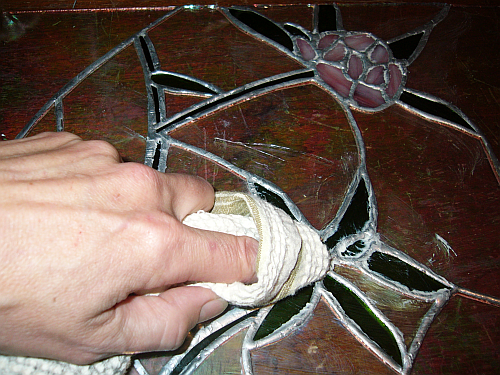
When the piece is soldered front and back, it needs to be cleaned. All the flux and solder splatter has to be washed off. After it's cleaned and thoroughly dried, the front and the back need to be polished with stained glass polish, a waxy liquid that protects the solder seams.
ninth step - installing
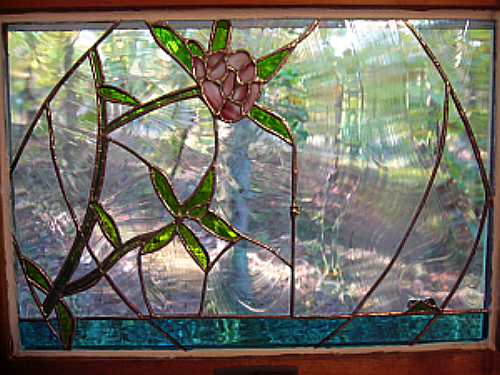
The stained glass panel gets caulked on top of the window pane. A bead of regular caulk along the edge of the panel will secure the piece in place and add not only beautiful colors and designs on the window, but give additional insulation.
Final check in the window
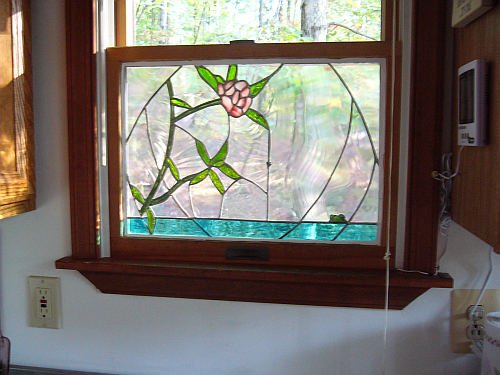
Once the caulk dries, the stained glass panel is fully secured in its spot. It can be easily cleaned with soap and water or Windex.
Stained Glass adds color and design to any room
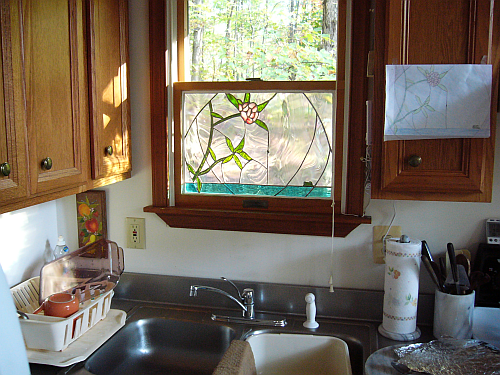
... and makes the owner happy!